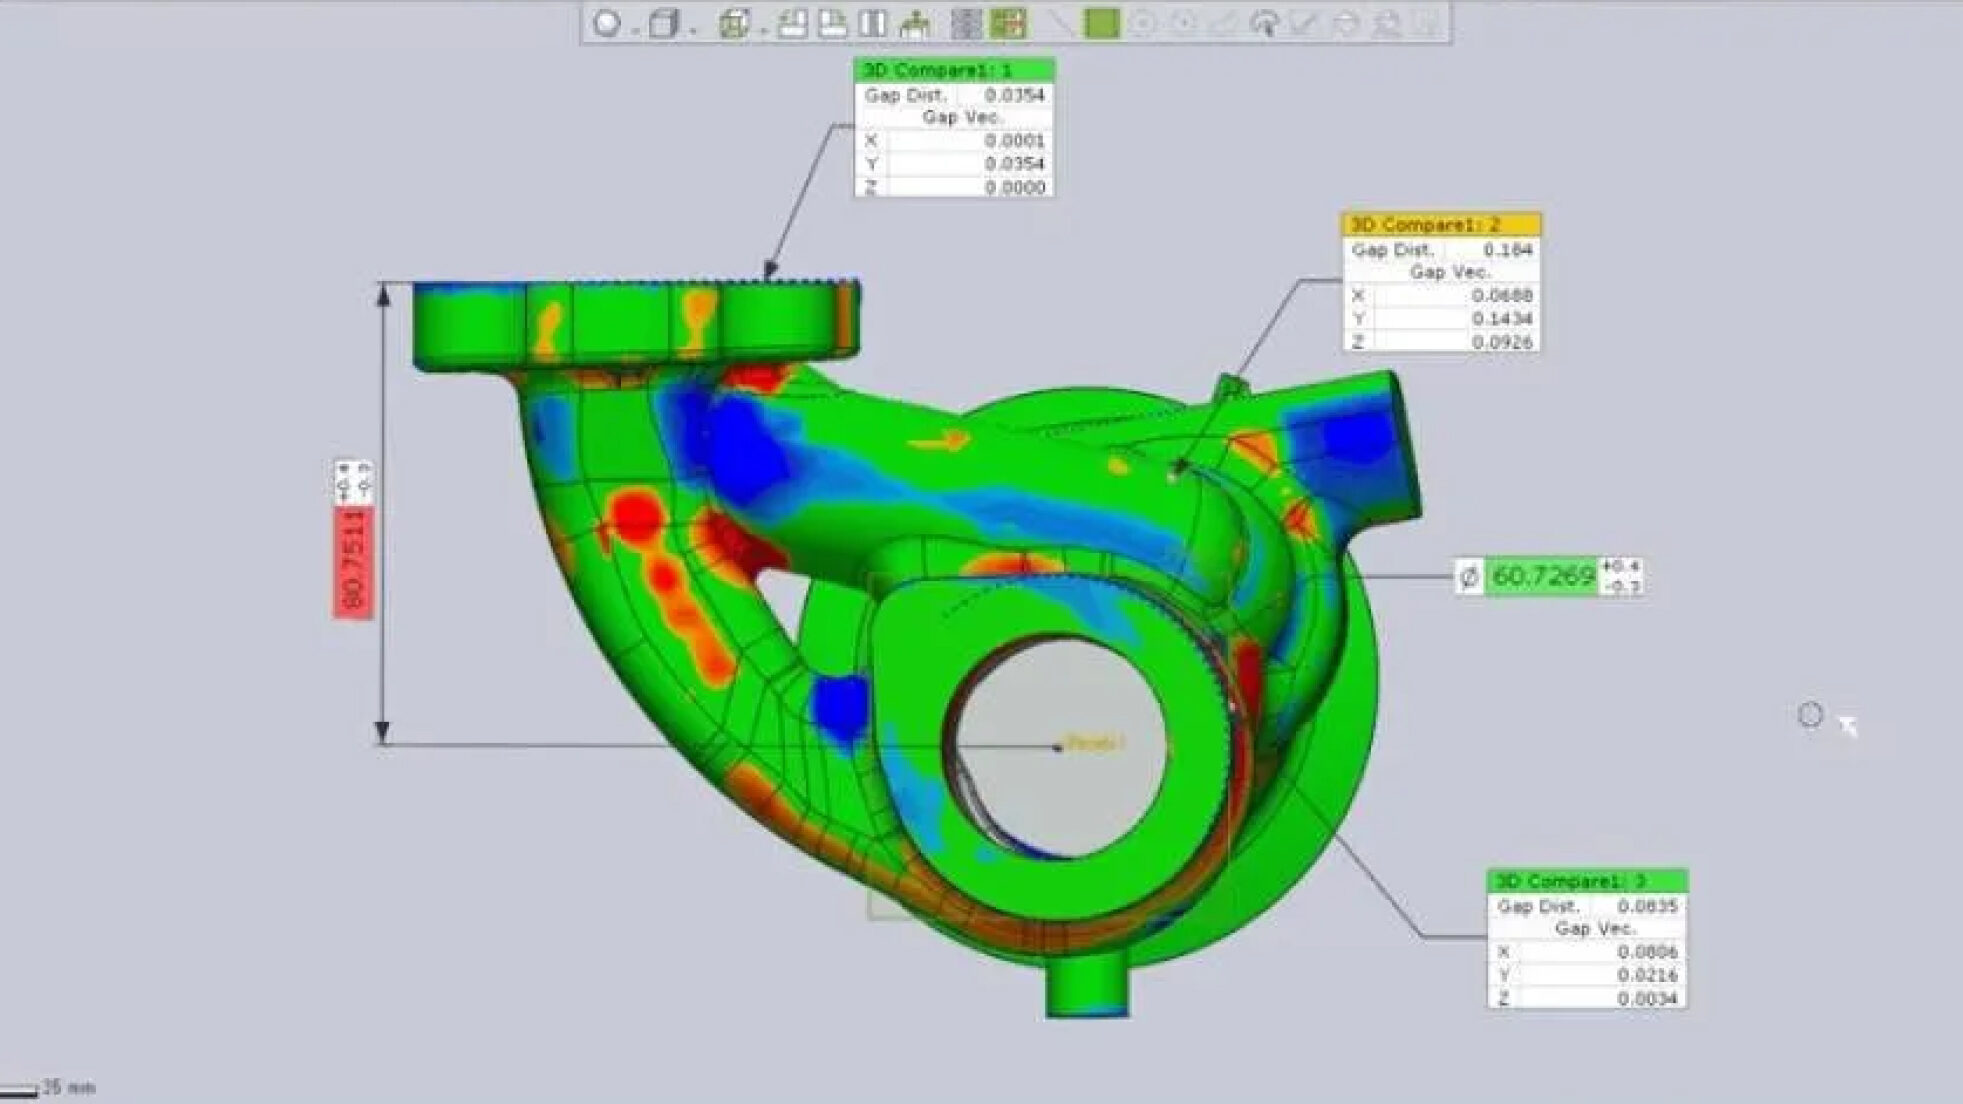
If you don’t have adequate mold cooling, you risk creating undesired casting defects and pre-mature mold damage and wear. A few examples of undesired results can include:
- Casting shrinkage and porosity
- Thermal shock
- Heat checking or cracking of the mold
- Casting soldering and sticking to the mold
- Prematurely cooled spots redirecting the flow of molten metal
But as your casting becomes more complicated, ensuring proper solidification increases in difficulty. There’s a fine line between a mold design that meets your solidification objectives and one that overengineers the solution, adding unnecessary complexity that ultimately hurts your foundry.
Overall, it’s important to start with simple techniques. If those work, you’ll save yourself lots of time and money on maintenance, component replacements, and casting reworks. But sometimes, simple techniques aren’t enough to produce adequate cooling, and you need to consider more complex options.
Let’s take a closer look at common mold cooling techniques, starting with the simplest and working our way up to the most complex.
Most often, cooling starts with design
Sometimes, you don’t need to add any additional cooling methods to a mold — you only need to tweak the casting shape or the conditions at the foundry.
Design for manufacture
Casting shape changes happen during the design for manufacture, or DFM stage of our design process. During this step, we’re looking for opportunities to make small design changes to your product geometry that maintain your intent, but still allow for better and easier solidification.
This could be anything from adding feed paths or altering the casting wall thickness, to changing the draft of the casting or removing unnecessarily heavy sections.
Once we’ve exhausted those opportunities, we turn ourselves to the rigging system that includes features that aren’t part of the casting itself, such as the risers, runners and ingates. Sometimes, adjusting the size or shifting the positioning of these elements can make a big difference in the solidification rate.
Because all these elements are already part of the design, manipulating them during this stage is the easiest and most cost-effective way to promote effective cooling without adding extra complexity.

Mold coatings
Foundries don’t pour molten metal directly onto the molds we manufacture. Usually, they add a mold coating first. These coatings are often a ceramic slurry and can be layered in a way that guides heat as the casting cools by controlling the metal flow or manipulating the heat transfer coefficients.
Depending on how thick the coating is on the runners, cavities, and risers, you can speed up cooling in some places and slow it down in others. The type of coatings used depends on the foundry’s capabilities and familiarity with the technique and can also impact the surface finish quality and the lifespan of the mold.
Molding machine parameters
Beyond the mold and casting materials, other factors related to actually pouring the metal can impact solidification.
- What temperature will the metal be poured at?
- How hot will the mold be before pouring?
- Are you pouring directly or using gating and risers?
- If you’re using a tilt mold, how fast can you tilt it?
- How long will you leave the mold open or shut after pouring?
Foundries can adjust these elements as needed to help ensure the castings solidify correctly.
Changing the casting shape, strategically coating the mold, and adjusting the molding machine parameters are the quickest and most cost-effective techniques for mold cooling. Once you start adding in additional cooling strategies, operational and maintenance cost starts to grow. But sometimes that’s necessary to ensure correct solidification.
Inserts provide spot cooling
If the first tier of simple cooling techniques fails, we’ll try cooling inserts. Different materials conduct heat differently and can speed up cooling without introducing air or water.
For example, adding tungsten pins (specifically those made of ANVILOY Tungsten alloys) to a mold can provide effective cooling to tricky spots. This technique works well for complex castings, as well as high-production quantities, but is cost-prohibitive for smaller foundries. Those who can afford it — and afford to replace it — find it to be more effective than other chill insert materials.
Air and water cooling pack the biggest punch
You can take cooling inserts a step further by adding sub-inserts. This introduces an air or water element to the chill pins. Often, a pin can be plumbed for either.
Bubblers and circuits are two common inserts designed to cool a specific region of a casting. In a bubbler, the air or water goes down the length of the inner pin, then cycles back up, much like a fountain. Circuits function similarly, creating a path through a pin that could be as simple as a loop, or as complex as a maze.
Our professional advice: If you’re going to go through the trouble of using and maintaining sub-inserts, water will be more effective to cool a troublesome spot than air.
You can also incorporate air or water cooling in ways beyond sub-inserts. For example, adding cooling channels throughout the mold or even a Venturi vacuum system can stimulate air movement, further cooling the casting.
If you add water cooling channels, there are certain precautions you must take. After all, if air gets where it’s not supposed to, it’s inconvenient and can cause porosity issues. But if water gets where it’s not supposed to, it can be dangerous if proper plumbing techniques are not followed.
Because of this, water lines must be plumbed by hand — it’s a fragile and complex process that necessitates more work during final finishing and assembly. From pressure testing and checking seals, to verifying clearances and ensuring function, only a handful of skilled journeyman patternmakers can do it.

Work with the cooling experts
When it comes to cooling techniques, keep it simple if you can. By starting with casting design changes and molding machine parameter adjustments, you may be able to achieve proper solidification without adding complicated and expensive options.
For more complex castings, techniques like sub-inserts and cooling channels may be needed to ensure your casting cools and solidifies correctly.
But no matter how complex your cooling needs are, our design engineers and journeyman patternmakers can help you build foundry tooling to create any part. Get in touch with our team to get started.
